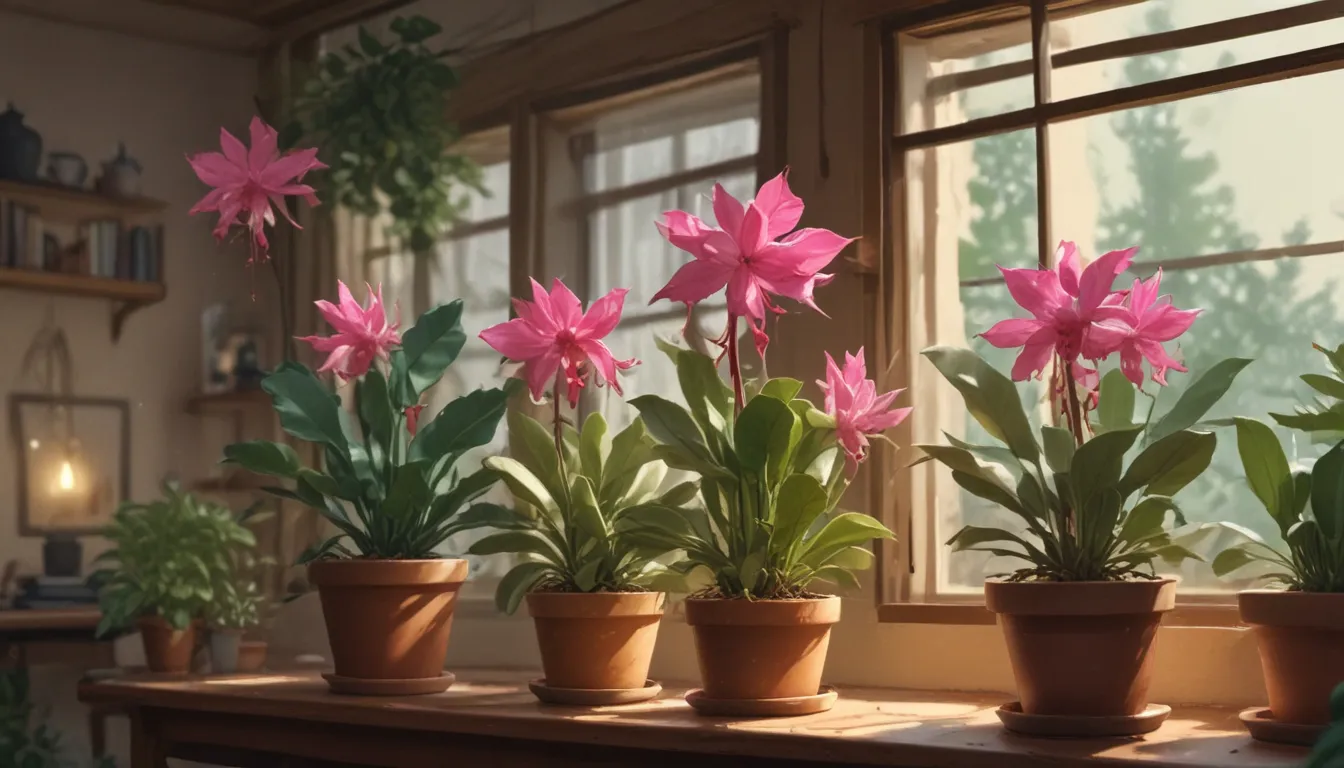
How to Easily Propagate Christmas Cactus from Cuttings

Welcome to the ultimate guide on how to propagate Christmas cactus from cuttings! If you’re a fan of these cheerful winter blooms and want to expand your collection or make homemade gifts, this method is perfect for you. And the best part? It’s simple and rewarding!
But before we dive into the step-by-step process, let’s have a little chat about why propagating via cuttings is such a fantastic idea.
Why Propagate Christmas Cactus from Cuttings?
There are several reasons why you may want to add this skill to your indoor gardening toolbox:
- Pruning: You may need to prune your Christmas cactus occasionally to shape it up or encourage branching.
- Accidental Breakage: It’s common for stems to accidentally break off while dusting or moving your plant. Rather than tossing them, why not turn them into new plants?
- Variety: There are countless holiday cactus cultivars available with different bloom colors. Propagating cuttings is a cost-effective way to expand your collection.
- Gifts: Homemade gifts are always special, and growing new cacti from cuttings makes for a unique and thoughtful present.
Now, if you’re ready to learn how to propagate these beautiful houseplants, grab your supplies and let’s get started!
1. Gather Your Supplies
Here’s a list of everything you’ll need for this project:
- Nursery Pots: Choose pots based on the number of cuttings you have.
- Growing Medium: Use a cactus and succulent mix or create your own.
- Cuttings: Make sure they are mature stems, 2-5 segments long.
- Scissors or Garden Snips: Sterilize them before use.
- Spray Bottle: Optional for watering without saturating the medium.
If you don’t have a parent plant to take cuttings from, you can find them available for purchase online. Once you have all your supplies, it’s time to move on to the next step!
2. Take Cuttings
Although you can root stems at any time of the year, the best time to start this project is in May or June when plants are actively growing. When taking cuttings, aim for mature stems rather than new growth for better results.
3. Allow to Callus Over or Form Roots
After taking your cuttings, allow them to callus over or produce roots before planting. This process can take a few days for callusing and two to three weeks for root formation. Place the stems in bright, indirect light during this stage.
4. Pot Cuttings
Once your cuttings have callused over or developed roots, it’s time to pot them. Fill your nursery pot with growing medium, plant the cuttings, and water gently with a spray bottle.
5. Keep Warm and Moist
Place the potted cuttings in a well-lit location with indirect light and maintain a warm and moist environment. You can cover the pot with a plastic bag to increase humidity and use a heat mat if needed to maintain temperatures between 70-80°F.
With patience and care, your cuttings will root and start growing into new Christmas cactus plants!
New Creations from Cuttings
Whether you’re creating gifts, expanding your collection, or honing your gardening skills, propagating Christmas cacti from cuttings is a rewarding experience. If you have any questions or want to share your success stories, feel free to leave a comment below.
And remember, the possibilities are endless with holiday cactus cultivars. So, get propagating and enjoy watching your new plants grow and bloom!
We hope you found this detailed guide helpful and informative. For more articles about holiday cacti and houseplant care tips, stay tuned for our upcoming posts!
Grow, propagate, and bloom – unleash your green thumb with Christmas cactus cuttings!


