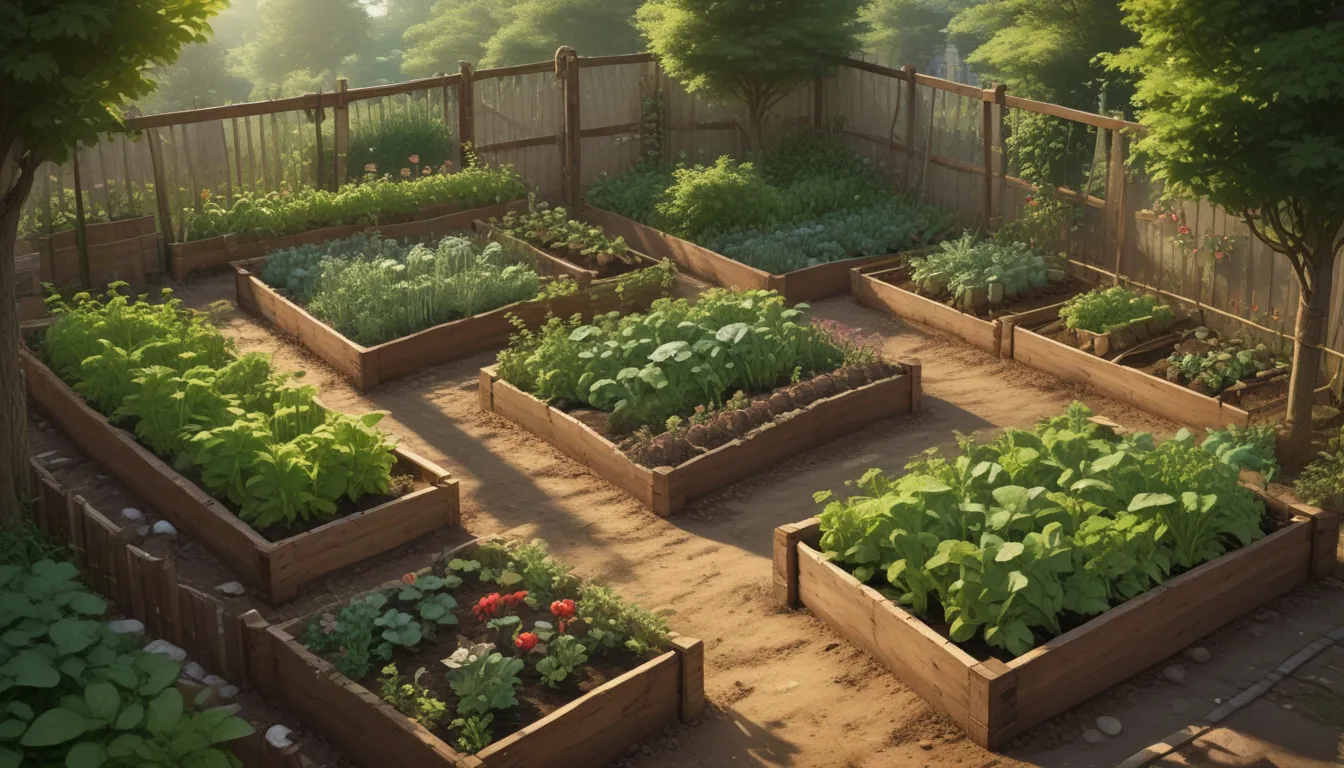
How to Build Your Own DIY Raised Beds for Veggie Gardening

Are you tired of your cucumbers, squash, and zucchini wilting in your garden year after year? It might be time to consider building a raised bed to provide fresh soil for your plants. In this guide, we will walk you through the process of creating a DIY raised bed that is perfect for growing vegetables like root crops and climbing plants.
The Benefits of Raised Beds
Raised beds offer several advantages for vegetable gardening, including:
- Better soil drainage
- Improved soil quality
- Reduced weed growth
- Easier planting and harvesting
- Longer growing season
By building your own raised bed, you can customize it to fit your garden space and needs. Plus, it’s a cost-effective way to create a productive vegetable garden without investing in expensive materials.
What You’ll Need
Materials
- 6 dog-eared cedar fence posts, 6 feet each
- 1 pressure treated 2×2, no less than 4 feet long
- ¾-inch exterior screws
- 1 ¼-inch exterior screws
Tools
- Circular saw or miter saw
- Pencil
- Speed square
- Drill
- Tape measure
Get to Work
First Things First – Cut Everything to Size
Before you start assembling your raised bed, you’ll need to cut all the materials to the right size. Here’s how:
- Cut the dog-eared ends off the cedar fence posts to create uniform pieces.
- Use the 6-foot fence posts for the long sides and cut them into equal sections.
- Cut one fence post into four 18-inch sections for the short sides.
- Cut one 6-foot fence post into 4-6 11-inch sections for stabilization.
- Cut the pressure treated 2×2 into four 11-inch sections for the corners.
Assembly
Once you have all the pieces ready, it’s time to put your raised bed together. Here’s how:
- Attach the 2×2 sections to the cedar pickets to create the long sides of the bed.
- Connect the short picket sections to the long sides using screws.
- Add the remaining cedar sections to stabilize the long sides of the bed.
Feel free to get creative with the design and embellishments to make your raised bed unique!
Filling Time
After assembling the bed, it’s time to fill it with soil. Consider using organic raised garden bed soil mixed with coarse sand for better drainage. Give it a good mix, water it well, and then you’re ready to plant your seeds.
Tips for Success
- Consider using 4×4 cedar or pressure treated posts for larger raised beds.
- Keep the soil moist, especially during the germination and seedling stages.
- Experiment with different materials and sizes to suit your garden needs.
Building a DIY raised bed is a simple and rewarding project that can transform your vegetable gardening experience. Give it a try and let us know how it goes!
If you found this guide helpful, check out these related articles for more gardening tips:
- What Is a Survival Garden? Tips to Grow Your Own
- Succession Planting: How to Grow Crops for a Continual Harvest
- Bone Meal: Learn How to Use It in Your Garden
Whether you’re a beginner or experienced gardener, there’s always something new to learn and try in your garden. Happy gardening!


