Complete Guide on When and How to Fertilize Camellias

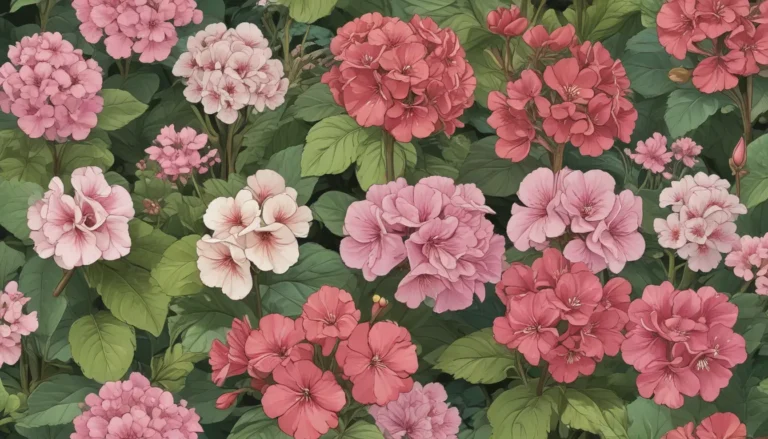
The first time you lay eyes on a camellia bush, it’s hard not to stop in your tracks. These stunning shrubs can truly take your breath away with their vibrant blooms and lush foliage.
If you’ve recently added camellias to your garden or are considering doing so, you’ll want to ensure you provide them with the proper care and nourishment they need to thrive. Fertilizing your camellias is a crucial part of their maintenance routine – and when done right, the results are truly rewarding.
In this comprehensive guide, we’ll walk you through everything you need to know about fertilizing camellias, from choosing the right fertilizer to timing your feedings correctly. Let’s dive in!
How to Fertilize Camellias
Camellias are known for being slow growers and heavy feeders. While they can survive without fertilizer, you’ll notice a significant difference in the health and growth of your plants when you provide them with the nutrients they need.
Here are some key points to keep in mind when fertilizing your camellias:
Choosing a Fertilizer
- Look for granular fertilizers specifically formulated for acid-loving, woody shrubs like camellias.
- Opt for products such as Dr. Earth’s Acid Lovers blend, which is ideal for older, well-established plants.
- Ensure the fertilizer you choose is suitable for slightly acidic soil with a pH of around 6.0 to 6.5.
If you’re unsure about the nutrient levels in your soil, consider conducting a soil test. This will help you determine any deficiencies and make informed decisions about the type of fertilizer to use.
When to Feed Camellias
Ideally, you should fertilize your camellias twice a year. Feed them once after the blooms have faded and again in midsummer to support the development of next year’s flower buds.
It’s important to observe your plants and adjust your feeding schedule based on their growth and blooming patterns. When the flowers start to fade, it’s a good indicator that your camellias are ready for a feeding.
Fertilizing Tips
- Before applying fertilizer, rake away any mulch around the base of the plant.
- Spread the granules evenly from just outside the trunk to the edge of the drip line.
- Reapply mulch after fertilizing and water thoroughly to help the nutrients penetrate the soil.
Be sure to follow the manufacturer’s instructions for application rate and frequency to avoid over-fertilizing your camellias.
Give the Right Food at the Right Time
Whether you’re caring for young specimens or mature plants, providing the right nutrients at the right time is essential for maintaining healthy and vigorous camellias.
While young plants may require more frequent feedings to support their growth, mature plants also benefit from regular fertilization to ensure they continue to thrive and produce beautiful blooms.
If you’re new to growing camellias or simply looking to enhance your existing plants, proper fertilization can make a world of difference in their overall health and appearance.
Share your experiences and tips for fertilizing camellias in the comments below. Gardening is a journey, and we can all learn from each other’s successes and challenges along the way.
For more information on growing and caring for camellias, check out our other informative guides:
- How to Grow and Care for Camellia Flowers
- How to Protect Camellias from Winter Cold Damage
- Why Are There Ants On My Camellia Flowers?
- 39 of the Best Companion Plants for Camellias
Let’s continue to nurture our gardens and enjoy the beauty that camellias bring to our outdoor spaces!
In conclusion, mastering the art of fertilizing camellias is a rewarding journey that can elevate the beauty and vitality of your garden. By following the guidelines outlined in this guide, you’ll be better equipped to provide your camellias with the nutrients they need to flourish and thrive. Happy gardening!


