Ultimate Guide to Planting and Growing Anaheim Peppers

If you’re looking for a pepper that packs just the right amount of flavor without overwhelming your dishes, the Anaheim pepper might be the perfect choice for you. Also known as California chilies or Magdalenas, these peppers are versatile enough to be stuffed, added to fajitas, or used in salsa. Their fleshy texture also makes them ideal for roasting and canning.
Anaheim peppers are a go-to option that caters to everyone’s taste preferences, from those who prefer milder dishes to spice enthusiasts. They are perfect for relleno dishes that bridge the gap between mild and spicy.
In this comprehensive guide, we will cover everything you need to know about growing Anaheim peppers, from cultivation to harvest and preservation. So, let’s dive in and get your garden ready for some zesty Anaheim peppers!
What You’ll Learn
- What Are Anaheim Peppers?
- Cultivation and History
- Propagation
- How to Grow
- Growing Tips
- Maintenance
- Cultivars to Select
- Managing Pests and Disease
- Harvesting
- Preserving
- Recipes and Cooking Ideas
- Quick Reference Growing Guide
What Are Anaheim Peppers?
Anaheim peppers belong to the Capsicum genus and are part of the New Mexico cultivar group. Despite their name, they are less spicy than jalapenos but have a bit more kick than sweet bell peppers, measuring between 500 and 2,500 on the Scoville Heat Unit scale. This makes them a versatile option for various culinary uses.
Although botanically known as chilies, it is common to refer to them as peppers due to their widespread use. The edible part is the fruit of the plant, which is rich and flavorful, making it a popular choice for many dishes.
Cultivation and History
Anaheim peppers trace their roots back to the early 1900s when farmer Emilio Ortega introduced seeds to Anaheim, California, creating the mild pepper that we know today. Based on the ‘New Mexico No. 9’ variety developed by Dr. Fabian Garcia in 1913, Ortega developed a milder, larger version that has since become a staple in many kitchens.
Propagation
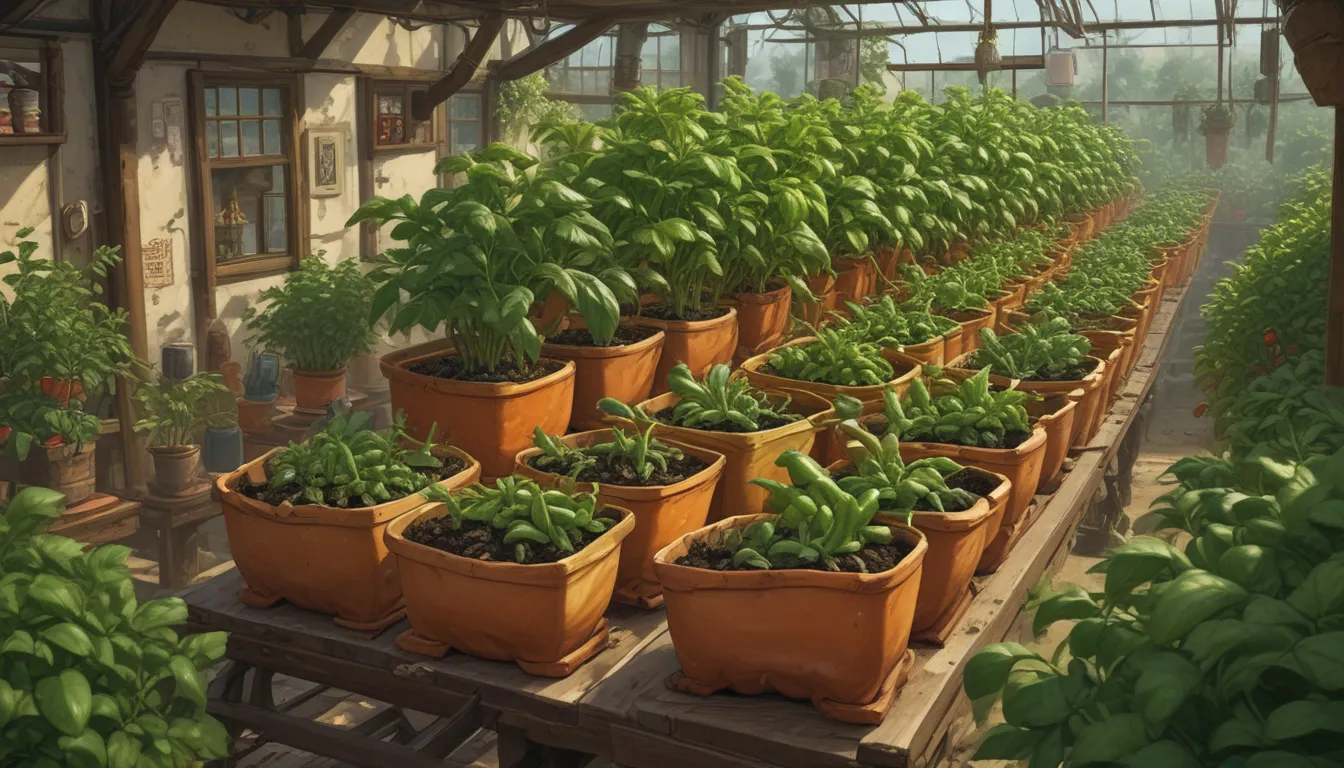
Growing Anaheim peppers from seed is straightforward, but it requires patience. Seeds take about three weeks to germinate and an additional six weeks for the seedlings to mature. Start seeds six to eight weeks before the last frost date in your area, using compostable pots to facilitate the transition to your garden.
If growing seedlings, ensure temperatures are above 60°F before transplanting them outdoors. Amend your soil with compost and sand to promote optimal growth conditions.
How to Grow
Anaheim peppers thrive in full sun and warm temperatures above 80°F. Ensure well-draining soil with a pH between 7.0 and 8.5. Water the plants regularly, especially when they are young, and fertilize them after transplanting and when fruits begin to form.
Growing Tips
- Plant in full sun
- Amend heavy clay soil or grow in containers
- Water when the top inch of soil dries out
Maintenance
While Anaheim peppers require minimal maintenance, pinching young shoots can encourage bushier growth. Support the plants with tomato cages or stakes as they mature. Watch out for signs of disease or pest infestation and take appropriate measures to protect your plants.
Cultivars to Select
While Anaheim peppers are commonly sold under the generic name ‘Anaheim,’ several hybrids offer unique features. Varieties like ‘Highlander F1’ and ‘Anaheim 118’ cater to specific preferences, providing productivity in cooler regions or exceptionally large fruits.
Managing Pests and Disease
Anaheim peppers are susceptible to pests like aphids, flea beetles, leafhoppers, and spider mites. Implement preventive measures such as cleaning your garden and using floating row covers to protect your plants. Here are common diseases to watch out for:
- Blossom End Rot
- Mosaic Virus
- Powdery Mildew
- Verticillium Wilt
Harvesting
Harvest green or red Anaheim peppers, depending on your preference, typically after 80 days of growth. Store in the refrigerator, dry them to make ristras, or pickle them for preservation.
Preserving
Dry Anaheim peppers in ristras or in the oven for long-term storage. Pickling is another popular preservation method that allows you to enjoy your harvest year-round.
Recipes and Cooking Ideas
Anaheim peppers are incredibly versatile in the kitchen. From stuffing to roasting, these peppers lend themselves to a variety of culinary creations. Experiment with different cooking methods to unlock their full flavor potential.
Quick Reference Growing Guide
- Plant Type: Perennial vegetable (grown as an annual)
- Water Needs: Moderate
- Hardiness (USDA Zone): 11-12
- Exposure: Full sun
- Time to Maturity: 80 days
- Spacing: 18 inches
- Height: Up to 5 feet
- Pests & Diseases: Aphids, flea beetles, leafhoppers, spider mites; various diseases
- Cultivar: Anaheim
Anaheim peppers are a delightful addition to any home garden, offering a balance of flavor and heat that appeals to a wide range of taste preferences. Whether you’re a seasoned gardener or a beginner, growing Anaheim peppers is a rewarding experience that yields abundant culinary possibilities. So, get ready to transform your garden into a haven for zesty Anaheim peppers!
Share your favorite Anaheim pepper recipes and growing tips in the comments section. Let’s inspire each other to create delicious dishes and beautiful gardens!
Feeling adventurous? Explore more pepper-growing guides to expand your gardening repertoire and spice up your culinary adventures:
- How to Plant and Grow Hot Peppers
- How to Plant and Grow Ghost Peppers
- How to Plant and Grow Serrano Peppers
Bring the taste of Anaheim home with your thriving pepper garden!
Enjoy the zest of Anaheim peppers in your kitchen creations!
Image Credits: Arbico Organics, Eden Brothers, Gardener’s Supply Company


