Mastering the Art of Harvesting Pears from Your Home Orchard

Welcome, fellow pear enthusiasts! If you’ve been nurturing a pear tree in your home orchard, you know that harvesting a bountiful crop of delicious, juicy pears is the ultimate reward. However, mastering the art of harvesting pears requires knowledge, timing, and technique. In this comprehensive guide, we’ll walk you through the steps to ensure you pick your pears at the perfect time and store them properly for maximum enjoyment.
Understanding Pear Ripening
Before we dive into the harvesting process, it’s essential to understand how pears ripen. Unlike many other fruits, pears don’t ripen well on the tree. They tend to ripen from the inside out, so if you wait until they’re soft on the tree, the center may be mushy and overripe by the time you eat them.
Pears are typically harvested when they’re mature but still hard and then allowed to ripen off the tree. This process is called “ripening after harvest” or “post-harvest ripening.”
Signs of Pear Maturity
To determine when your pears are ready for harvesting, look for these signs of maturity:
- Color change: As pears mature, their skin color changes from green to a lighter shade, depending on the variety. For example, Bartlett pears turn from green to a golden-yellow hue.
- Ease of separation: Gently lift a pear upwards from its normal hanging position. If it snaps off easily from the branch, it’s likely mature and ready for harvesting.
- Seed color: Cut open a pear and check the seeds. If they’ve turned from white to dark brown, the pear is mature.
- Texture: Mature pears have a slightly waxy feel and may have a subtle give when gently pressed near the stem end.
Keep in mind that different pear varieties may have slightly different maturity indicators, so it’s essential to research your specific variety for the most accurate guidance.
Harvesting Techniques

Once you’ve determined that your pears are mature and ready for harvesting, follow these techniques for the best results:
- Pick at the right time of day: Harvest your pears in the morning when the fruits are cool and firm. Avoid picking during the heat of the day, as the pears may be slightly softer and more prone to bruising.
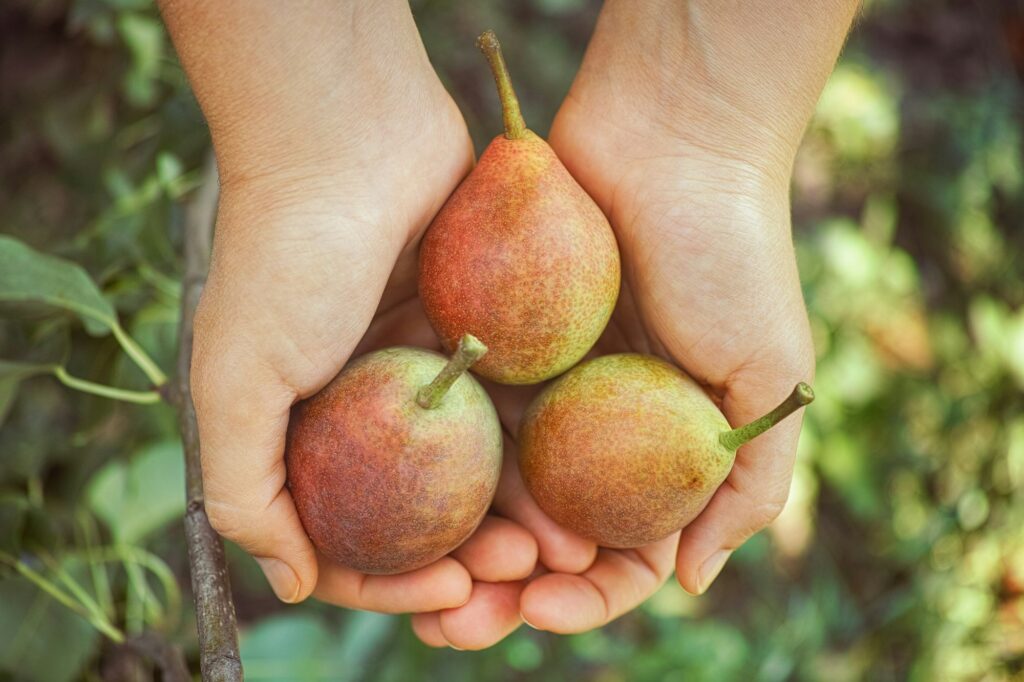
- Use both hands: Cradle the pear gently in one hand while using the other hand to lift and twist the fruit slightly to separate it from the branch. Avoid pulling the pear straight down, as this may damage the fruit spur and reduce future yields.
- Leave the stem on: When harvesting, try to keep the stem attached to the pear. This helps prevent decay from entering the fruit at the stem end.
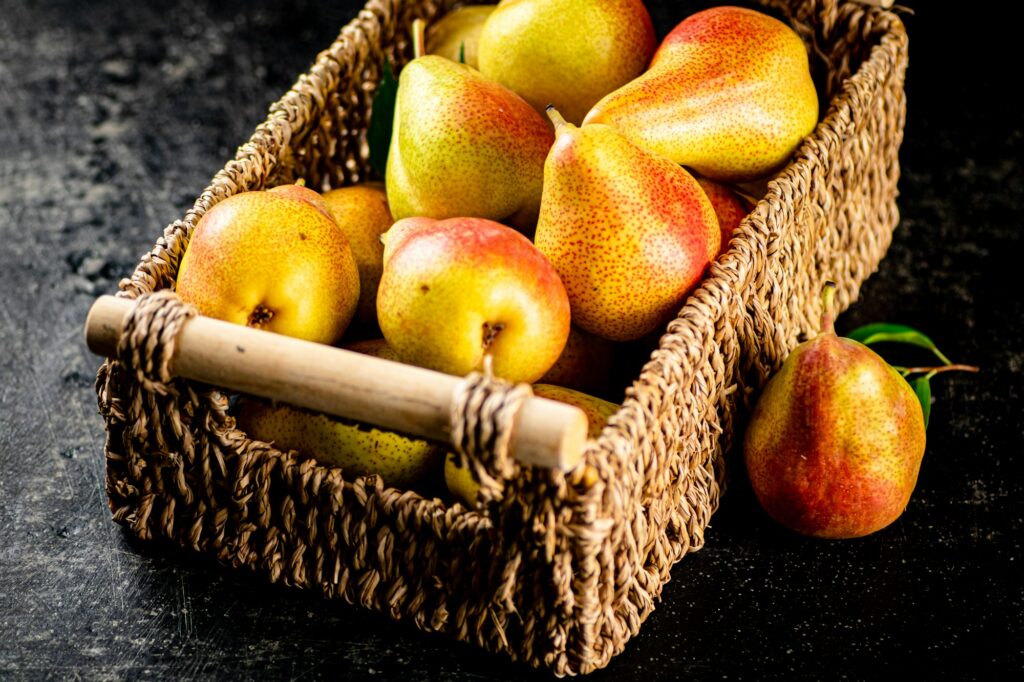
- Handle with care: Place the harvested pears gently into a basket or container lined with soft material to prevent bruising. Avoid dropping or rough handling, as pears are easily bruised.
- Separate by size and ripeness: As you harvest, separate the pears by size and degree of ripeness. This will make it easier to store and ripen them effectively.
Post-Harvest Pear Ripening
After harvesting your pears, you’ll need to ripen them to perfection. Here’s how:
- Choose a cool, dark place: Pears ripen best at temperatures between 60-70°F (15-21°C) in a cool, dark location like a basement or garage.
- Arrange in a single layer: Place the pears in a single layer on a tray or in a shallow box lined with paper. This allows for good air circulation and prevents the pears from bruising each other.
- Check daily: Monitor your pears daily, checking for color change and gently pressing near the stem end to feel for softness. Pears can take anywhere from a few days to a week or more to ripen, depending on the variety and the degree of maturity at harvest.
- Enjoy or refrigerate: Once your pears have reached the desired level of ripeness, enjoy them immediately or refrigerate them to slow down the ripening process. Ripe pears can be stored in the fridge for up to five days.
Pear Storage Tips

If you have a large pear harvest and need to store them for an extended period, follow these tips:
- Sort by size and ripeness: Store pears of similar size and ripeness together to ensure even ripening.
- Maintain proper temperature and humidity: Ideal storage conditions for pears are 30-32°F (-1 to 0°C) with 90-95% relative humidity. A refrigerator can work well for smaller quantities.
- Prevent ethylene buildup: Pears produce ethylene gas, which accelerates ripening. To prevent buildup, store pears in a well-ventilated area and avoid storing them with other ethylene-producing fruits like apples and bananas.
- Check regularly: Inspect your stored pears regularly for signs of decay or overripening, and remove any damaged fruit to prevent spoilage from spreading.
Troubleshooting Common Issues
Even with the best harvesting and storage practices, you may encounter some issues. Here are a few common problems and how to address them:
- Premature ripening: If your pears are ripening too quickly, try storing them at a lower temperature around 30-32°F (-1 to 0°C) to slow down the process.
- Lack of ripening: If your pears aren’t ripening, try placing them in a paper bag with a ripe banana or apple. The ethylene gas from these fruits will help stimulate ripening.
- Bruising: Handle pears gently during harvesting and storage to minimize bruising. If you notice bruised pears, use them first as they will spoil more quickly.
- Decay: Remove any pears showing signs of decay, such as soft spots or mold, to prevent it from spreading to other fruits.
Enjoying Your Pear Harvest
Now that you’ve mastered the art of harvesting and ripening pears, it’s time to enjoy the fruits of your labor! Here are some delicious ways to savor your home-grown pears:
- Fresh eating: Enjoy your perfectly ripe pears as a healthy and refreshing snack on their own.
- Salads: Slice pears and add them to mixed greens with a tangy vinaigrette for a gourmet salad experience.
- Baking: Use pears in pies, tarts, cobblers, and crisps for a sweet and comforting dessert.
- Preserving: Preserve your pear harvest by canning, making jams or chutneys, or dehydrating for longer storage.
With proper harvesting, ripening, and storage techniques, you’ll be able to enjoy your home-grown pears at their peak of flavor and texture. Remember to research your specific pear variety for the most accurate guidance, and don’t be afraid to experiment to find the perfect ripeness level for your taste preferences.
Happy harvesting, and bon appétit!


