A Comprehensive Guide to Harvesting Shallots
Shallots, with their unique flavor and culinary versatility, are a delightful addition to any garden. However, knowing when and how to harvest them can be a bit tricky. In this comprehensive guide, we will delve into the details to help you master the art of harvesting shallots.
Understanding Shallots
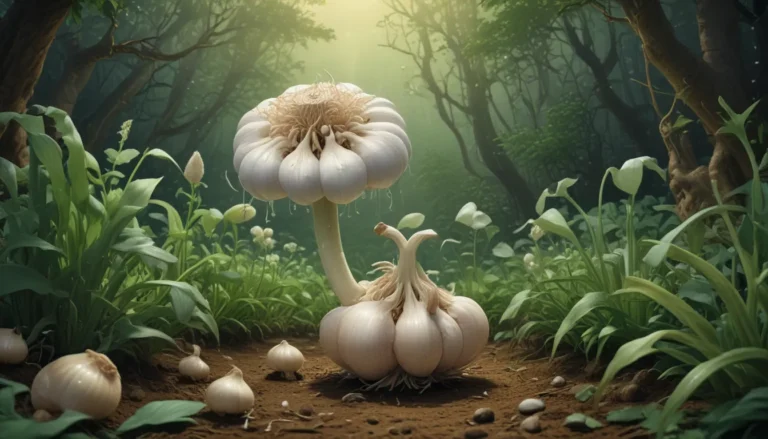
Before we dive into the harvesting process, let’s take a moment to appreciate the beauty and flavor of shallots. These fragrant bulbs, belonging to the Allium genus, come in two main types – the yellow-skinned Allium cepa var. aggregatum, and the copper-sheathed A. oschaninii. While commonly associated with French cuisine, shallots are enjoyed in various dishes around the world, such as Vietnamese fried shallots and South Indian shallot curry. Their sweet yet tangy flavor adds depth to a wide range of recipes.
The Harvesting Process
The Two Harvest Times for Shallots
Depending on your location and planting method, the time to harvest shallots may vary. Spring-sown shallots typically mature in 100-120 days after germination, while fall-planted bulbs require harvesting seven to nine months after sowing. Cooler temperatures are beneficial for shallots, with fall-planted bulbs often yielding larger and tastier results. The ideal time to start harvesting is usually in late May or early June, depending on your planting date.
Signs of Readiness
Shallots provide clear signals when they are ready for harvest. Look for the following signs:
- Tops start turning brown
- Foliage begins to flop and fall over
- Bulbs visibly split into clusters beneath the soil
- Flower scapes develop (trim them off to maintain flavor)
Pulling the Bulbs Out
To harvest shallots, gently loosen the soil around the bulbs and pull them out while grasping the base of the leaves. Consider braiding the leaves together for drying or spread the bulbs on a flat surface with good airflow. Allow the bulbs to dry for one to two weeks until the foliage is brown and the skin is fully dry. Curing is essential for long-term storage, as it creates a protective barrier around the bulbs.
Recipe Ideas
Once you’ve harvested your shallots, the culinary possibilities are endless. From caramelizing them in curry sauces to sautéing them in omelets, shallots can elevate a wide range of dishes. Consider trying our recipes for caramelized shallot curry, sautéed omelets with shallots, or green beans with fried shallots for a burst of flavor in every bite.
Shall-ot We Dance?
Harvesting shallots can be a rewarding experience, offering a bounty of flavorful bulbs for culinary delights. Remember to set aside a few bulbs for replanting and enjoy the fruits of your labor for months to come. Have you ever harvested a crop of tasty shallots? Share your stories in the comments below.
In conclusion, mastering the art of harvesting shallots can elevate your culinary creations to a whole new level. By understanding the signs of readiness, pulling the bulbs out with care, and exploring various recipe ideas, you can make the most of these delightful bulbs in your kitchen.
Remember, the journey of growing and harvesting shallots is a delightful dance that rewards you with flavorful treasures. So, put on your gardening gloves and get ready to savor the sweetness of freshly harvested shallots in your favorite dishes. Happy harvesting!
By incorporating detailed information, practical tips, and enticing recipe ideas, this guide aims to equip readers with the knowledge and inspiration to harvest shallots with confidence. Whether you’re a novice gardener or a seasoned enthusiast, the joy of growing and harvesting these delightful bulbs knows no bounds. So, roll up your sleeves and embark on a flavorful journey with shallots as your guiding stars.
