Aloe Vera Propagation: How to Root Cuttings and Separate Pups

Are you a fan of aloe vera? This versatile succulent is not only a beautiful addition to any home or garden but also boasts numerous health benefits. If you’ve been thinking about expanding your aloe collection or sharing these wonderful plants with friends and family, you’re in luck! In this comprehensive guide, we’ll explore two popular methods of aloe vera propagation: rooting cuttings and separating pups. By the end of this post, you’ll have all the knowledge you need to grow your own aloe vera army!
Why Propagate Aloe Vera?
Before we dive into the nitty-gritty of propagation techniques, let’s talk about why you might want to propagate aloe vera in the first place:
- Expand your collection: Create new plants for free and fill your home with these air-purifying succulents.
- Share the love: Propagated aloe vera plants make excellent gifts for fellow plant enthusiasts or anyone interested in natural remedies.
- Preserve a favorite plant: If your mature aloe vera is struggling, propagation can help you save its genetic material.
- Experiment and learn: Propagation is a fun and rewarding way to deepen your understanding of plant biology and horticulture.
Now that we’ve covered the “why,” let’s move on to the “how”!

Method 1: Rooting Aloe Vera Cuttings
Rooting cuttings is a great way to propagate aloe vera, especially if you want to create multiple new plants from a single leaf. This method requires a bit more patience than separating pups, but it can be incredibly rewarding.
Step 1: Selecting and Preparing the Leaf
Choose a healthy, mature leaf from your aloe vera plant. Look for one that’s at least 3-4 inches long and free from any visible damage or disease. Using a clean, sharp knife, cut the leaf as close to the base of the plant as possible.
Pro tip: Always use sterilized tools when working with plants to prevent the spread of diseases.
After cutting, place the leaf in a dry, shaded area for 2-3 days. This allows the cut end to callus over, which helps prevent rot and infection when you plant it.
Step 2: Preparing the Planting Medium
While your leaf is callusing, prepare your planting medium. A well-draining soil mix is crucial for aloe vera cuttings. You can create your own by combining:
- 2 parts coarse sand
- 1 part perlite
- 1 part peat moss or coconut coir
Alternatively, you can purchase a pre-made cactus or succulent potting mix from your local garden center.
Step 3: Planting the Cutting
Once the cut end of your leaf has callused, it’s time to plant:
- Fill a small pot with your prepared soil mix.
- Make a hole in the soil about 1 inch deep.
- Insert the callused end of the leaf into the hole, burying about 1/3 of the leaf.
- Gently press the soil around the leaf to secure it in place.
Step 4: Care and Maintenance
Proper care is crucial during the rooting process:
- Light: Place the pot in a bright location with indirect sunlight. Direct sun can be too harsh for developing roots.
- Water: Water sparingly. The soil should be kept slightly moist but never waterlogged. Overwatering is the quickest way to kill your cutting.
- Temperature: Maintain a warm environment, ideally between 70-80°F (21-27°C).
- Patience: Rooting can take anywhere from 2-6 weeks. Resist the urge to check for roots by pulling on the leaf.
You’ll know roots have formed when you see new growth emerging from the base of the leaf. At this point, you can begin treating your cutting like a mature aloe vera plant.
Method 2: Separating Aloe Vera Pups

Separating pups, or offsets, is often considered the easiest and most reliable method of aloe vera propagation. Pups are small, genetically identical plants that grow from the base of a mature aloe vera.
Step 1: Identifying Suitable Pups
Look for pups that are at least 2-3 inches tall and have developed their own root system. These are typically ready for separation when they’re about 1/5 the size of the mother plant.
Step 2: Removing the Pup
To separate the pup:
- Gently remove the mother plant from its pot.
- Brush away soil to expose the base of the pup and its connection to the mother plant.
- Using a clean, sharp knife, cut the pup away from the mother plant, ensuring you keep as much of the pup’s root system intact as possible.
- If the pup has no roots, you can still separate it, but it will take longer to establish.
Step 3: Planting the Pup
Plant your newly separated pup in a well-draining soil mix, similar to what we discussed for rooting cuttings. Choose a pot that’s only slightly larger than the pup’s root system to prevent waterlogging.
Step 4: Care and Establishment
Care for your newly planted pup is similar to caring for mature aloe vera:
- Light: Provide bright, indirect light.
- Water: Allow the soil to dry out completely between waterings.
- Fertilizer: Feed sparingly with a balanced, water-soluble fertilizer diluted to half strength during the growing season.
Your pup should establish quickly and show new growth within a few weeks.
Common Challenges in Aloe Vera Propagation
Even with the best care, you may encounter some challenges when propagating aloe vera. Here are some common issues and how to address them:
- Rotting cuttings: This is usually caused by overwatering or poor drainage. Ensure your soil mix is well-draining and water sparingly.
- Slow root development: Be patient! Some cuttings can take up to 2 months to root. Maintain consistent care and avoid disturbing the cutting.
- Pups failing to thrive after separation: This can happen if the pup was separated too early or if too much root was left on the mother plant. Always ensure pups have their own roots before separating.
- Pest infestations: Aloe vera is generally resistant to pests, but mealybugs and scale insects can sometimes be an issue. Treat with neem oil or insecticidal soap if you notice any pests.
- Sunburn: While aloe vera loves light, too much direct sun can cause leaves to turn brown and crispy. Gradually acclimate new plants to higher light levels.
Caring for Your Propagated Aloe Vera Plants
Once your cuttings have rooted or your pups have established, it’s time to focus on long-term care. Here are some tips to keep your new aloe vera plants healthy and thriving:
Watering
Aloe vera is drought-tolerant and prefers to dry out between waterings. A good rule of thumb is to water deeply but infrequently. In spring and summer, this might mean watering every 2-3 weeks, while in fall and winter, you might only need to water once a month.
Remember: It’s always better to underwater aloe vera than to overwater it. These succulents are built to withstand dry conditions but can quickly succumb to root rot if overwatered.
Light
Aloe vera thrives in bright, indirect light. A south or west-facing window is ideal for indoor plants. If you’re growing aloe outdoors, choose a spot that receives morning sun and afternoon shade.
Soil and Fertilizer
Use a well-draining potting mix specifically designed for succulents or cacti. Fertilize sparingly during the growing season (spring and summer) with a balanced, water-soluble fertilizer diluted to half strength.
Repotting
As your propagated aloe vera grows, it will eventually need a larger pot. Repot in spring when you notice roots growing out of the drainage holes or the plant becoming top-heavy. Choose a pot that’s only 1-2 inches larger in diameter than the current one.
Harvesting
One of the joys of propagating aloe vera is having an endless supply of gel for various uses. To harvest:
- Choose a mature leaf from the outer part of the plant.
- Cut it close to the base using clean, sharp scissors.
- Let the cut end drain the yellow sap (aloin) for a few minutes.
- Rinse the leaf and slice it open to access the gel.
Creative Uses for Your Propagated Aloe Vera
Now that you have multiple aloe vera plants, you might be wondering what to do with them all. Here are some ideas:
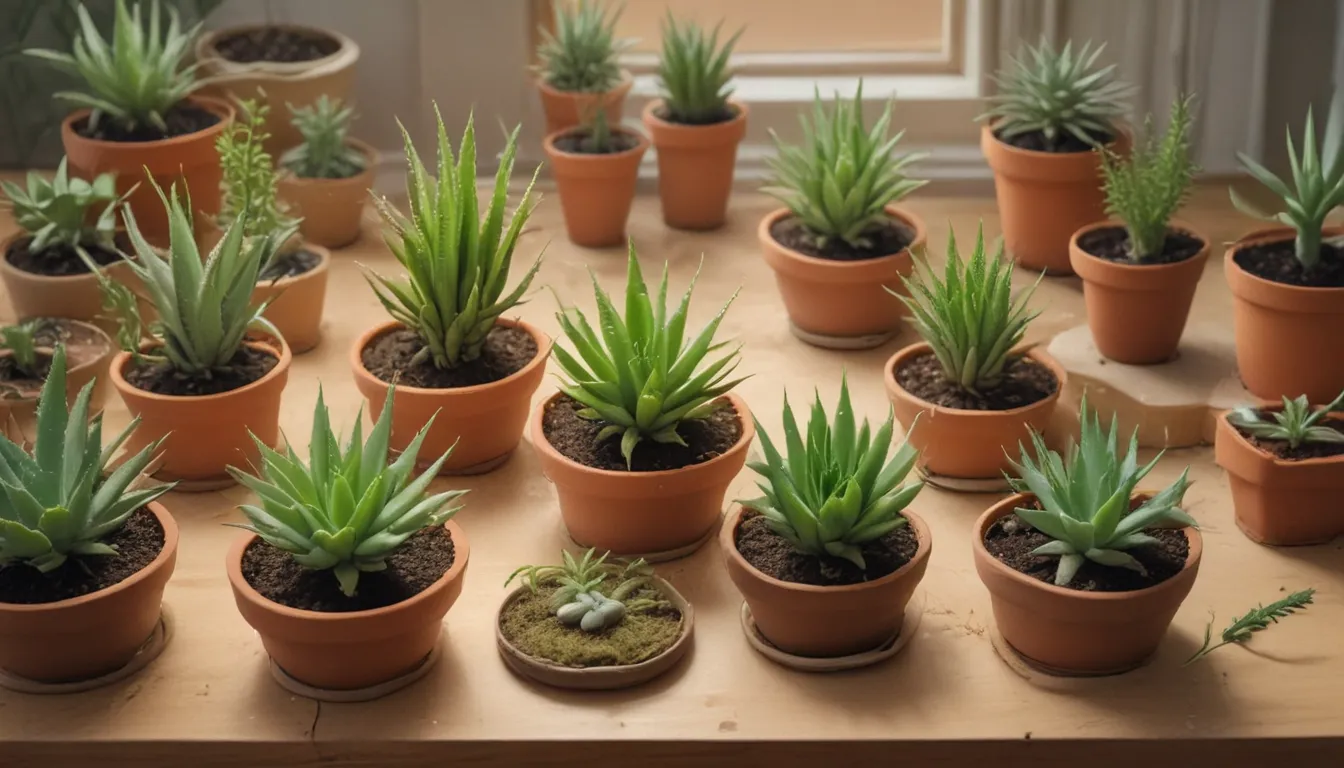
- Create an aloe vera garden: Group several plants together in decorative pots for a stunning display.
- Make your own skincare products: Use fresh aloe gel in homemade face masks, moisturizers, or after-sun lotions.
- Natural first aid kit: Keep a small aloe plant in your kitchen for quick treatment of minor burns and cuts.
- Air-purifying plant collection: Combine aloe vera with other air-purifying plants like snake plants and spider plants for cleaner indoor air.
- Thoughtful gifts: Pot up your propagated aloe vera plants in cute containers for unique, living gifts.
Conclusion
Propagating aloe vera is a rewarding process that allows you to expand your plant collection, share the love with others, and ensure a constant supply of this versatile succulent. Whether you choose to root cuttings or separate pups, the key to success lies in patience and proper care.
Remember, every plant is unique, and what works for one might not work for another. Don’t be discouraged if your first attempt at propagation doesn’t go as planned – gardening is all about learning and trying again. With practice and persistence, you’ll soon be an aloe vera propagation pro!
Have you tried propagating aloe vera before? What methods worked best for you? Share your experiences and tips in the comments below – we’d love to hear from you!
Happy propagating!


