How to Propagate Garlic from Bulbils: A Complete Guide

Are you a garlic lover like me? Do you find yourself torn between enjoying the delicious flavor of garlic in your meals now and growing your garlic crop for the future? If so, you’re in luck! Propagating garlic from bulbils is an easy and efficient way to increase your planting stock without having to buy more seed garlic each year.
In this comprehensive guide, we will delve into the world of garlic propagation, focusing on how to collect and store garlic bulbils, as well as the planting and harvesting process. By the end of this article, you’ll be equipped with all the knowledge you need to successfully propagate garlic in your garden.
What Are Garlic Bulbils?
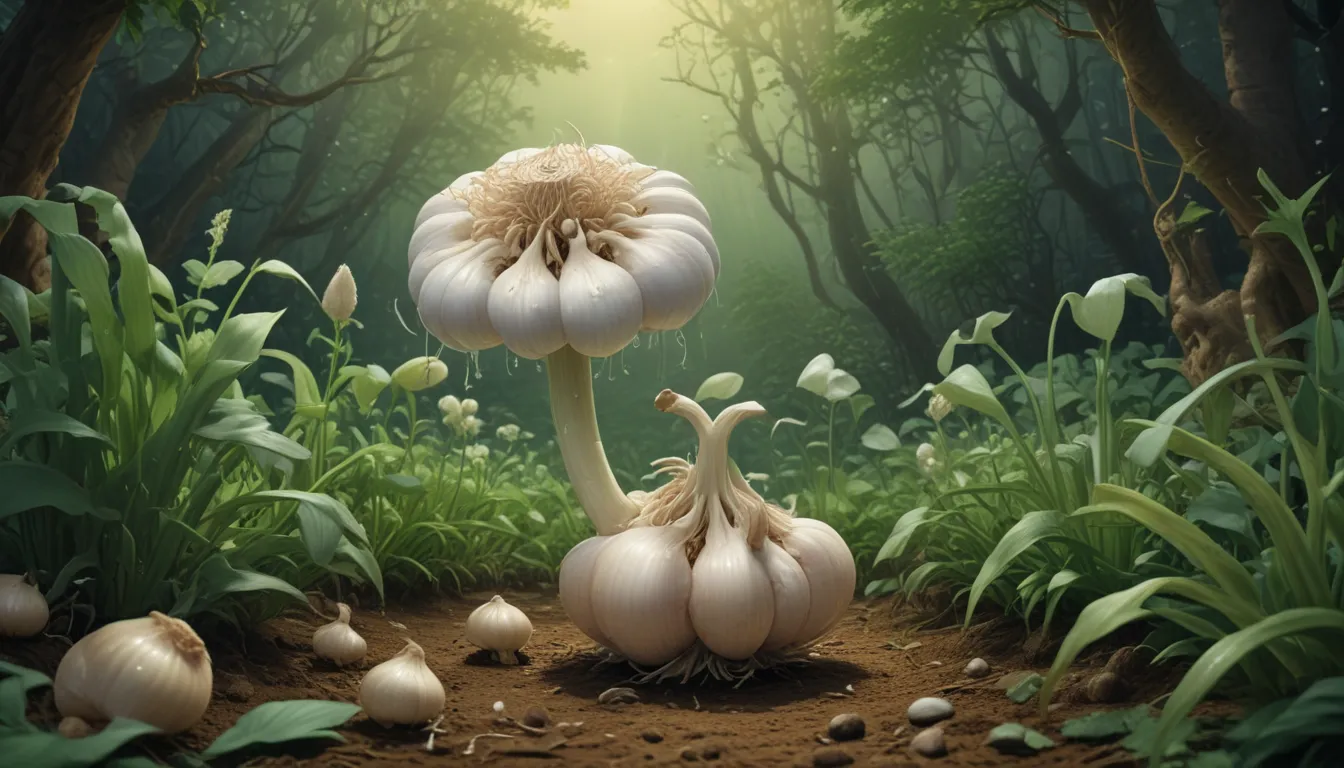
Garlic bulbils are small aerial cloves that develop from the scapes of hardneck garlic plants. If you leave the scapes untouched, they will eventually produce mini cloves known as bulbils. These bulbils can be collected and planted out in your garden, serving as a free and disease-free source of planting stock for your garlic crop.
Unlike seeds produced through sexual reproduction, bulbils are clones of the parent plant, allowing for vegetative propagation. By utilizing bulbils, you can increase your planting stock much faster than using soil-grown cloves, and they offer a simple and effective way to grow garlic in your garden.
Collection and Storage
When the bulbil pod develops a crack, it’s time to harvest the bulbils. Cut the entire scape and hang it to cure in a protected, well-ventilated area. Once the scape is fully dried, break open the pod and remove the bulbils by rubbing them gently. Store the bulbils in a cool, dry place until you are ready to plant them in the fall.
Planting and Harvest
Plant the bulbils in the fall with their wrappers intact, either directly in the ground or in containers filled with sterilized soil. Unlike planting seed cloves, bulbils require a different planting density due to their small size. Leave six to eight inches between rows, with larger bulbils spaced four inches apart and smaller ones two inches apart.
Bulbils will emerge in the spring and are ready to harvest when the bottom leaves turn yellow and the stems flop over. Gently pull them from the ground, being careful not to damage the stems. Hang the roundels to dry in a cool, dry location before replanting them in the fall.
From Mini to Major Harvests
By propagating garlic from bulbils, you can continuously increase your planting stock without the need to purchase additional seed garlic. While it may take a few years to establish a full-sized crop, the long-term benefits of this propagation method are well worth the wait. Disease-free and cost-effective, bulbils offer a sustainable way to grow garlic in your garden.
Are you ready to plant your own garlic bulbils this year? Share your thoughts in the comments below and let us know if you plan to give this propagation method a try. As you embark on your garlic-growing journey, be sure to explore our other articles on garlic cultivation for valuable tips and insights.
- How to Plant and Grow Garlic in Your Veggie Patch – How to Identify and Control Garlic Pests – How to Grow ‘Polish Hardneck’ Garlic
With the knowledge and skills gained from this guide, you’ll be well-equipped to propagate garlic from bulbils and enjoy a bountiful harvest of this flavorful herb. Happy planting!


