Comprehensive Guide to Harvesting and Storing Carrot Seeds

As you dive deeper into the world of veggie gardening, the natural progression is to start saving seeds from your bountiful harvests. Not only does seed saving save you money, but it also allows you to geek out in a gardening way, preserving the genes of your favorite varieties for future plantings and food.
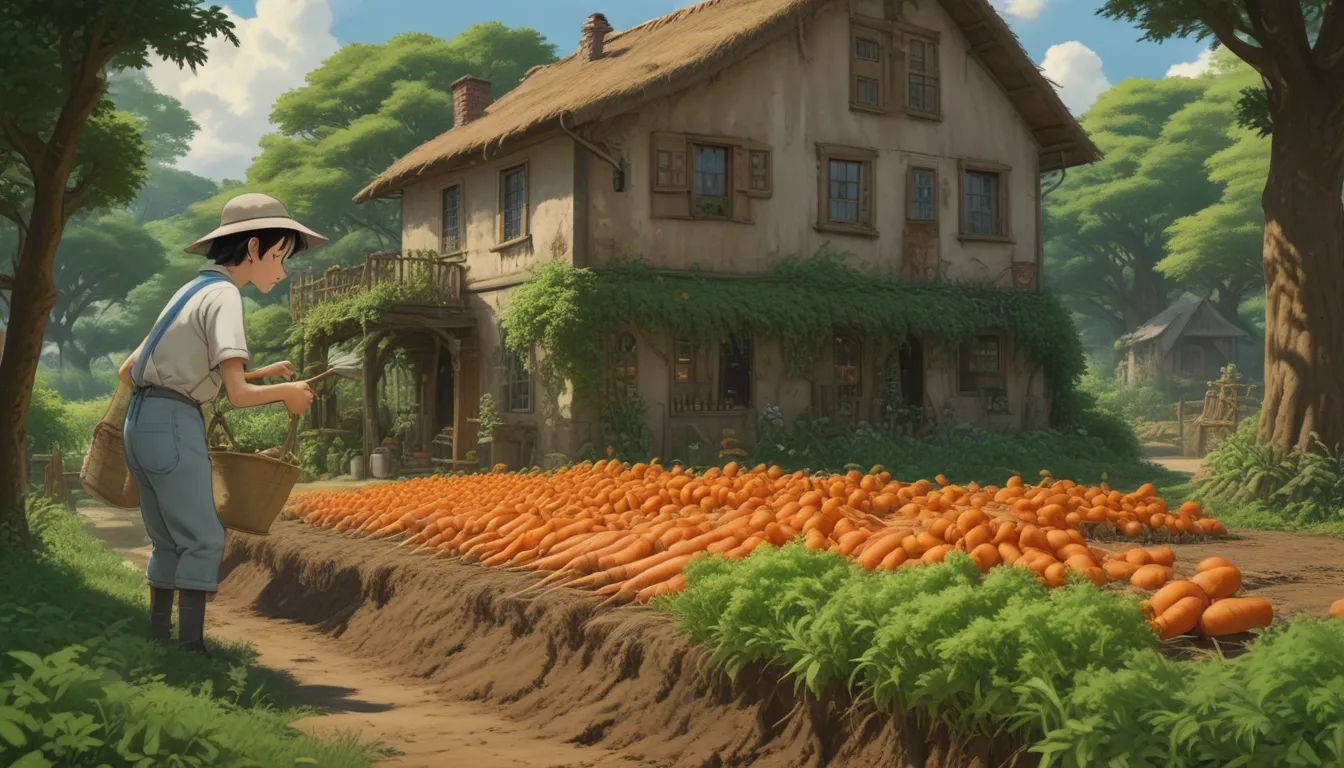
When it comes to harvesting and storing carrot seeds, the return on investment is truly remarkable. Each individual plant has the potential to produce over 1,000 flowers, giving you the opportunity to grow a thousand carrots from just one plant in the future.
Let’s dive into the crucial steps you need to follow to ensure the highest quality harvest from your current crop, paving the way for a successful future garden.
What You’ll Learn
Here’s a breakdown of what you can expect to learn in this comprehensive guide:
- Start with Open-Pollination
- Isolate Your Variety
- Mark Your Planting
- Vernalize
- Let Your Crop Grow
- How to Harvest
- How to Store
Let’s get started!
Start with Open-Pollination
For the average backyard gardener, choosing an open-pollinated carrot variety is key to ensuring that your saved seeds grow true to type in the future. Open-pollinated seeds are those that are pollinated by natural means such as insects or wind, ensuring that the seeds replicate the characteristics of the parent plant.
On the other hand, hybrid cultivars result from the cross-pollination of two distinct parent plants, creating carrots with mixed traits that may not replicate in the next generation. To preserve the qualities of your favorite carrots, opt for open-pollinated varieties for seed saving.
Isolate Your Variety
To maintain the genetic integrity of your chosen carrot variety, it’s essential to isolate your plants from other cultivars. Pollen from other carrot varieties or even the wild ancestor of the cultivated carrot, Queen Anne’s lace, can cross-pollinate your crop and result in unexpected characteristics in the next generation of seeds.
By isolating your carrots either through distance or using isolation cages, you can ensure that your saved seeds produce the desired traits in the future. Remember to coordinate with neighboring gardeners and keep an eye out for the invasive Queen Anne’s lace in your area.
Mark Your Planting
In the first year of growth, mark your carrot crop to distinguish plants that will be saved for seed production in the following year. Properly marking your plantings will remind you to leave selected plants in the ground for seed saving and prevent accidental harvesting.
Consider using physical plant markers or creating a detailed map in your garden journal to keep track of your crops. These markers not only serve a practical purpose but also add a charming touch to your garden.
Vernalize
Carrots, like other biennials, require a cold period known as vernalization to trigger flowering in their second year of growth. Depending on your climate, you can overwinter your crop in the garden or store harvested roots in a cool location such as a fridge or root cellar for vernalization.
By vernalizing your carrot roots, you ensure that they complete their reproductive cycle and develop into healthy plants with the potential for seed production in the future. Remember to replant vernalized roots in the garden in spring with adequate spacing between plants to support healthy growth.
Let Your Crop Grow
As your carrots enter their second year of growth, monitor the development of leafy growth and flowering, which will eventually lead to seed production. Ensure that your crop receives proper watering and pest management to support healthy plant growth and seed formation.
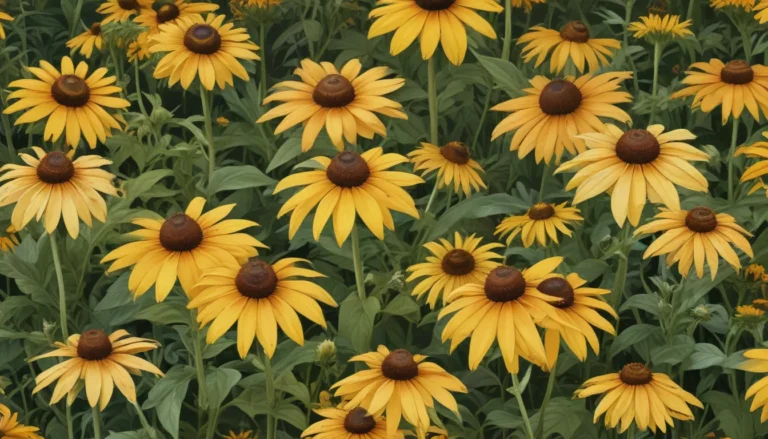
Carrot flowers are similar in appearance to those of dill and caraway, attracting beneficial pollinators that aid in the pollination process. Once the flowers dry out and turn brown, it’s time to prepare for seed harvest.
How to Harvest
To harvest carrot seeds, select umbels from several healthy plants to ensure genetic diversity and viable seed production. Cut the dry umbels and place them in brown paper bags to allow for proper drying and ventilation. Once the umbels are thoroughly dry, remove the seeds from the umbels by rubbing them between your fingers to separate the seeds from the chaff.
For small batches of carrot seeds, hand-harvesting methods are effective in separating the seeds from plant debris without the need for specialized equipment. Ensure that the harvested seeds are clean and free from spikes or debris before storing them for future use.
How to Store
Proper storage of carrot seeds is essential to maintain seed viability and prevent moisture-related issues. Store cleaned and dry seeds in paper envelopes labeled with the plant type, cultivar name, and harvest year to keep track of your seed collection. Place the seed envelopes in a cool, dark, and dry location, adding silica packets if needed to control humidity and preserve seed quality.
Sharing excess seeds with fellow gardeners or using them for indoor gardening experiments can help make the most of your seed collection and promote gardening community connections.
Conclusion
By following these steps to harvest and store carrot seeds, you can ensure a sustainable and productive gardening practice that preserves the genetic diversity of your favorite carrot varieties. Seed saving not only saves you money but also allows you to connect with the natural cycles of plant growth and reproduction, creating a rewarding gardening experience.
Are you ready to embark on your seed-saving journey? Share your thoughts and experiences in the comments below!
For more tips on growing carrots and seed-saving techniques, explore our additional gardening guides:
- How to Grow Carrots in Containers
- Tips for Growing Carrots Indoors
- Common Causes of Deformed Carrots
With additional writing and editing by Allison Sidhu and Clare Groom.


