Harvesting and Storing Kale Seeds: A Complete Guide

Kale has grown in popularity over the years, becoming a staple in healthy diets. Home gardeners have embraced this nutrient-rich leafy green by incorporating it into their vegetable patches. With a variety of cultivars to choose from, kale is not only beautiful but also delicious.
Belonging to the Brassica genus, kale plants are biennials, meaning they complete their life cycle over two years. In the first year, they produce leafy growth, and in the second year, they resume growth, flower, and set seeds.
If you’re looking to save and store kale seeds to start your organic, heirloom collection, you’re in luck. In this in-depth guide, we’ll walk you through the steps involved in harvesting and storing kale seeds, ensuring you can continue to enjoy this nutritious green in your garden for generations to come.
How to Save Kale Seeds
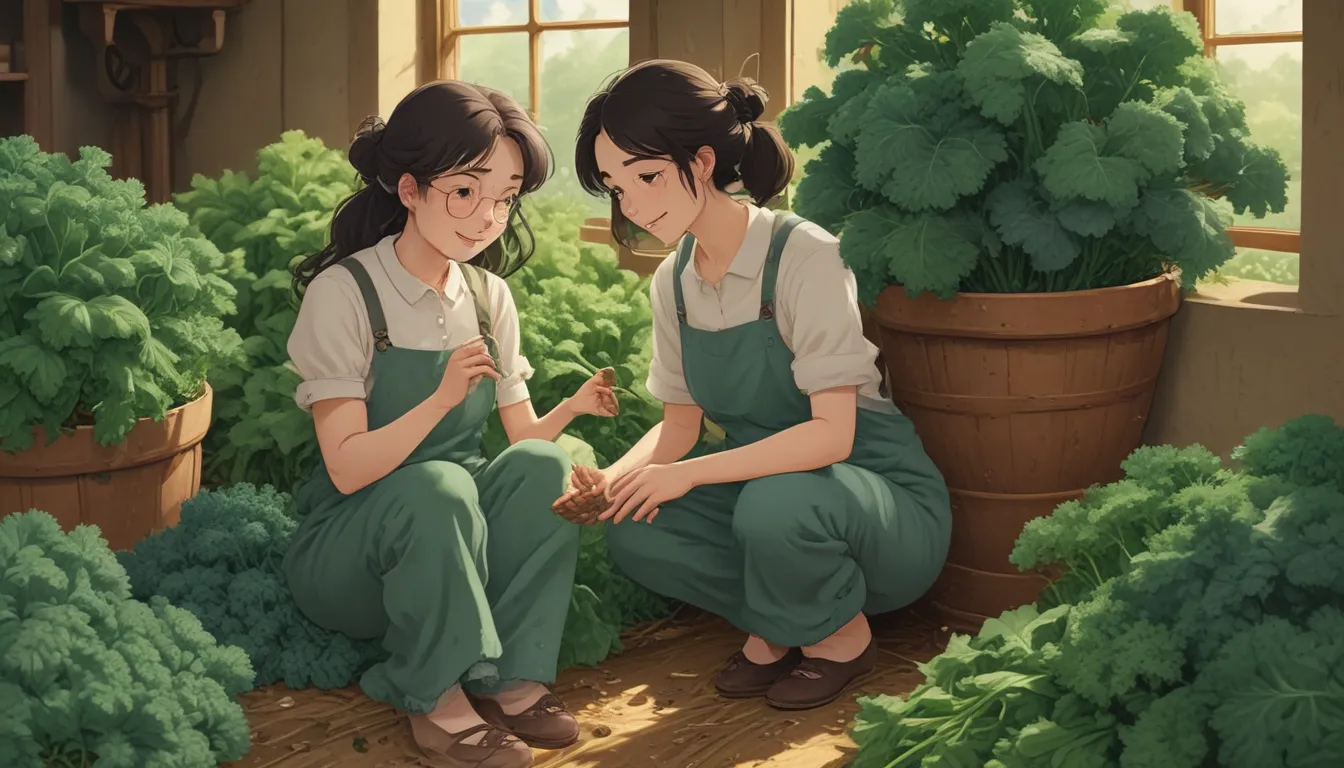
Saving kale seeds is a rewarding process that allows you to reproduce plants true to their parents and create a legacy for your family. Here are the steps involved in saving kale seeds:
- Second Year Growth
- Gather Flower Stalks
- Winnow Out the Chaff
- Safe Storage
Second Year Growth
Contrary to popular belief, kale is not an annual plant. It requires two years to complete its life cycle. To collect seeds, you’ll need to let your plants overwinter, especially if you’re in USDA Hardiness Zones 7-10. This allows you to harvest leaves all winter long.
In late autumn, mulch around the base of the plants with materials like compost, grass clippings, or straw. In the spring, as the plants awaken, they’ll quickly yield fresh leaves. By summer, they’ll set buds and develop tall flower stalks.
While you can harvest leaves as long as the plant is viable, they may become tough and bitter once the plant flowers. However, they’re still suitable for cooking in stir-fries and soups.
Gather Flower Stalks
As the temperatures rise, kale plants will send up tall flower stalks with large terminal racemes of yellow flowers. These flowers will eventually turn into long, thin pods that need to be harvested at the right time.
Once the pods have ripened and begun to dry out, cut the stalks close to the ground and place them in a large paper bag. Hang the bags in a cool, dry location to allow the pods to dry completely.
Winnow Out the Chaff
After the pods are thoroughly dry, it’s time to separate the seeds from the chaff. You can do this by gently shaking a screen or using a mesh strainer on a breezy day to let the wind carry away the chaff. Another method is to manually separate the seeds and chaff on a large plate.
Safe Storage
Once you’ve separated the seeds from the chaff, store them in paper envelopes or glass jars. Label them with the plant’s name and the date to keep track of when they were collected. Store the seeds in a cool, dark location with stable moisture content to keep them viable for up to four years.
Save a Seed, Sow Some Love
Saving kale seeds not only ensures that your plants will be true to their parent but also gives you complete control over their growing environment. You’ll never have to buy seedlings again and can create your own heirloom lineage of plants.
Seeds make great gifts for fellow gardeners and can be used for bartering at seed exchanges. By overwintering your kale and collecting plenty of seeds, you can continue to enjoy this nutritious green for years to come.
Feel free to share the varieties you’re saving in the comments below. And don’t forget to explore our other guides on growing and maintaining kale for a healthy and bountiful garden.
Remember, by saving and storing kale seeds, you’re not just preserving a plant, but a tradition that can be passed down through generations. So, get out there, harvest those seeds, and sow some love in your garden!


