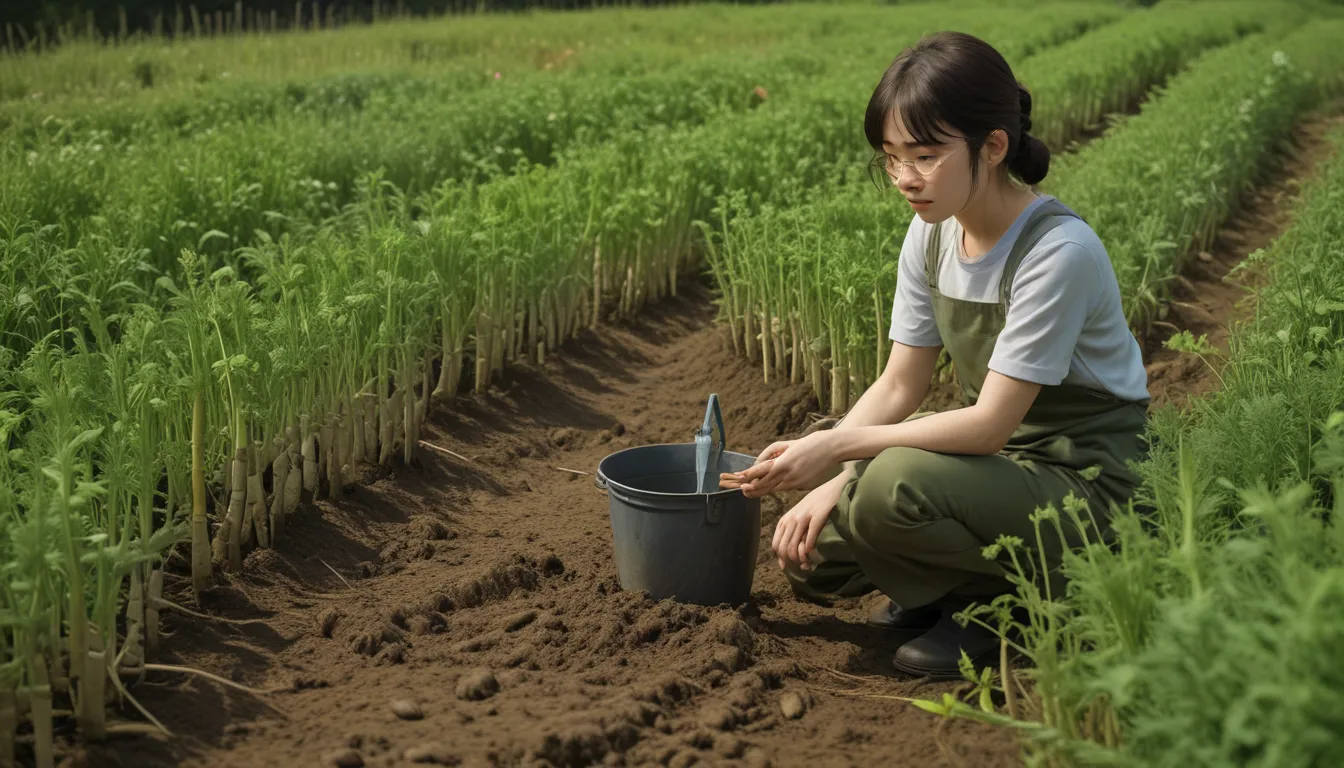
How to Successfully Transplant Asparagus and Grow Like a Pro

Are you a fan of asparagus? Do you dream of having a bountiful harvest of fresh, homegrown spears to enjoy year after year? Then you’re in the right place! In this comprehensive guide, we’ll walk you through everything you need to know about successfully transplanting asparagus.
The Joys of Fresh Asparagus
Asparagus is a delectable and nutritious vegetable that has won over the taste buds of many. If you’ve only ever experienced store-bought asparagus, you may be missing out on the true fresh flavor of this delicacy. Grown in many parts around the world, regions like Ontario, Canada, are renowned for their delectable asparagus harvests.
When you taste your first bite of farm-fresh asparagus, you’ll understand the buzz surrounding it. From steamed to grilled, this versatile plant can be prepared in many delicious ways. Asparagus becomes the star of the show when it’s in season, and the anticipation of the harvest can be thrilling.
Transplanting Asparagus: A Complete Guide
Let’s dive into the world of asparagus transplanting. Our step-by-step guide will equip you with the knowledge and skills you need to successfully relocate your crowns and watch them thrive.
All About Crowns
Before we get digging, let’s understand the importance of crowns when it comes to asparagus. These clumps of roots are the key to growing this vegetable successfully. Transplanting crowns is the quickest route to establishing a productive asparagus patch. Remember, patience is essential, as it can take two to three years post-transplant before you can start harvesting.
Prepare the Site and Soil
Selecting the perfect location for your asparagus plants is crucial. Choose a sunny spot with well-draining soil. Asparagus prefers sandy or loamy soil that is slightly acidic. To give your plants the best start, prepare the soil by adding compost or manure. Avoid heavy or clay soil, as this can lead to disease.
Dig and Divide
When it comes to mature crowns, proceed with caution, as transplanting them can be tricky. On the other hand, dividing well-established crowns can be an excellent way to expand your asparagus patch. When digging up your plants, make sure to give them plenty of space and handle them with care to minimize transplant shock.
Transplant in Trenches: Gradual Planting
For smaller plants or divided sections, the trench method of planting is ideal. Create a deep hole or trench to accommodate the roots and gradually cover the plants with soil as they grow. Adding a water-soluble fertilizer high in phosphorus will give your plants the nutrients they need to thrive. Remember to water consistently but avoid overwatering to prevent rot and disease.
Caring for Your Asparagus
Once your asparagus plants are established, they will require minimal maintenance. Keep them watered and weed-free, and consider mulching around the base to retain moisture and protect them from frost. As the season comes to an end, you can trim back the ferns to prepare for dormancy.
A Bountiful Harvest Awaits
With your asparagus successfully transplanted and cared for, you can look forward to years of delicious harvests. In just a few years, you’ll be enjoying a celebratory feast of fresh, homegrown spears fit for royalty. Are you ready to embark on your asparagus-growing journey? Let us know in the comments below!
If you found this guide helpful and want to learn more about growing asparagus, check out these additional resources:
- Why Is My Asparagus Thin? Tips for Growing Thick Spears
- What’s the Difference Between Male and Female Asparagus Plants?
- How and When to Harvest Asparagus
Get ready to transform your garden into a thriving asparagus patch and enjoy the fruits of your labor for years to come. Happy planting!


